DIY Lightbox
Art is hard. Take every advantage you can get.
This is a Do-It-Yourself light box that I built for zero dollars. All the parts were recycled from other projects. Perfect for the starving art student!
Since I was a kid, I’ve wanted a light box. The premise is very simple: put a light behind a clear surface, then draw on the surface. The light allows you to see through your drawing and trace it onto another piece of paper.
Not as easy as it sounds. A real light box is expensive. Holding your drawings above a light is awkward. You can use a window, but the light has to hit just right. Some of you have glass desks. This post isn’t for you; your life is complete already.
For the rest of us, the DIY light box is a cheap and effective way to trace drawings. Here’s how to build it:

Illustrated instructions, drawn at 3 am.
If that doesn’t make it clear, I’ll give it to you in pictures also:

This shows the board with the plastic sheet and 2x4s for reinforcement. Bolts pass through all three layers to hold everything together.
The materials were all from previous projects: an old drawing board, a piece of hard plastic that was left outside by construction crews, and bits of 2×4 left over from my Slow Goat.
The tools you need are a hand saw to cut the wood, and a power drill to make the holes. Beware if you are cutting plastic – my piece kept trying to shatter. Packing tape keeps the cracks from getting too bad.

Countersinking the nut and washer isn’t necessary, but I did it because my bolts were just slightly too short. This saves me from buying longer ones.
The plastic piece goes on top of the board. Put the 2x4s on the back for stabilization. I used 2″ machine screws, washers and nuts to hold the thing together. All you have to do is prop it up in front of a light and trace.
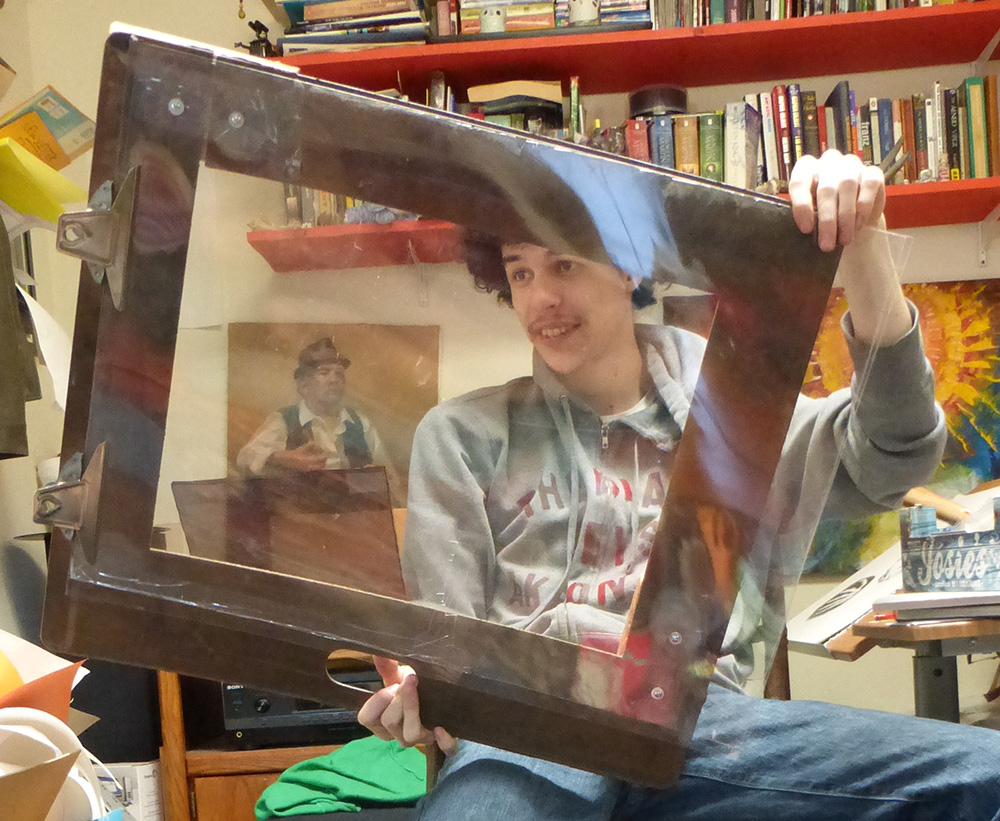
Here is the light box assembled. It’s not high tech, but it’s invaluable for an illustrator.
Why use a light box?
But I can hear you saying: “Big deal, this guy is way too excited about a board with a hole in it.” –Biff, Back to the Future
Actually, Biff, a light box is a crucial tool that TONS of illustrators use. It lets you fix your mistakes without having to redraw the whole piece. You can evaluate your work and make it better right away. Some people don’t want to trace, but tracing your own work is one of the best things you can do to improve your drawing. If you want to improve your drawing, improve your drawings!
In other words:

The left is a 40-minute pose drawn from a model in the anatomy class. The inked version on the right took about 3 hours.
I hope this inspires more people to make light boxes. It can only help your drawing!
Written by SCL
Edited by taylorjewel


What a cool idea just goes to show what you can do if you put your mind to it on a very small or no budget at all 😀 . So long as it serves its purpose and does the job you cant complain can you 🙂 great post. kate x
Yep, you can’t complain about free stuff. Light boxes are way overpriced, too. Until I can get some real income, I’m happy with DIY.
I’m glad you enjoyed the post, thanks for the comment.
This is awesome!
A piece of ertuodiin unlike any other!
There is certainly a lot to learn about this subject.
I like all the points you’ve made.
There’s definately a lot to kno abut this topic.
I love all the points youu made.